Meeting
Oct 1, 2017
Click on any image to start the slide show.

Tom Pafford's shop in Madison Heights, VA
Main Events: Side bending and fixing a stacked heel. Visitor: Claude Levet
Side Bending
Before the meeting, Larry sanded the sides to 0.080" in preparation for bending.
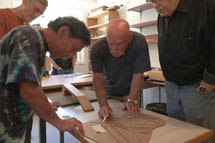
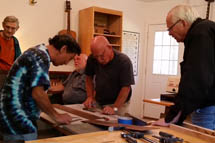
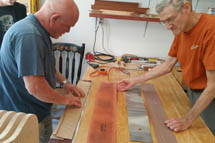
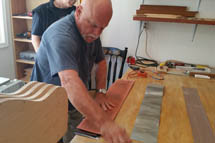
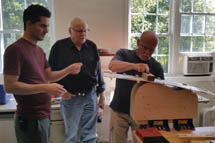
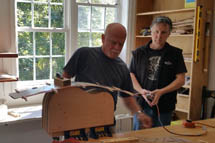
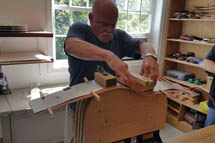
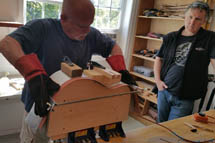
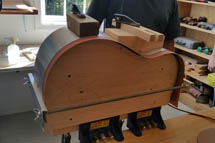
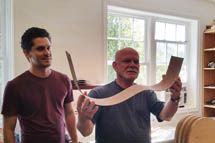
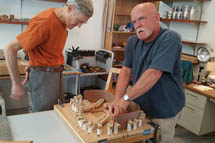
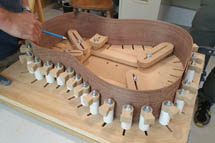
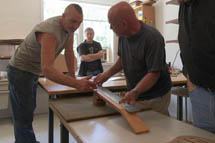
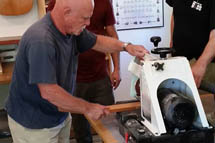
At the meeting Tom demonstrated how he bends sides. He first bent a pair of sides for a guitar he's working on (pics below) and then we bent the sides for our project guitar using the same procedure.
Prior to bending:
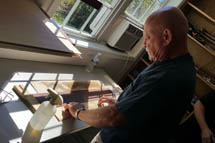
- We wet the side and wrapped it in craft paper. The water helps to soften the wood and helps prevent scorching.
- We made a sandwich of aluminum bottom slat, wrapped side, heating blanket, and aluminum top slat
Tom's bending process:
- Align the sandwich of aluminum slat, wrapped side, heat blanket and aluminum slat on the bending form
- Clamp a caul on the upper bout.
- Turn on the heating blanket. As the wood heats, it will start to sag on the bending form.
- Align the waist caul and clamp it down.
- Attach the outside clamping fixture to hold the ends tight to the form
- Wait 10 minutes and remove the bent side from the form.
After the sides are bent, Tom puts them in the body form, marks where to trim the upper and lower bouts, then trims off the excess wood for a flush fit.
Fixing a Stacked Heel that was in the wrong place
Previously, we stacked the neck heel in the wrong place. It was stacked at the end of the neck shaft which was not yet trimmed to final dimension. This can happen, especially when multiple people are working on the same instrument. Always check dimensions and measurements before cutting or gluing.
Here's how we fixed it:
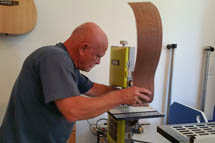
- Sawed off the heel
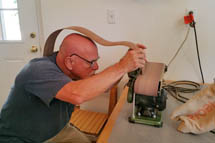
- Cleanded up the gluing surfaces on the sawed off heel and the neck shaft
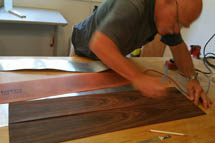
- Measured and marked the neck shaft for the proper position of the heel
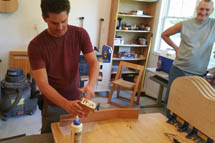
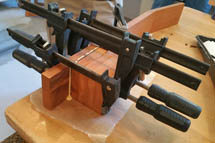
- Glued the heel back on in the proper place
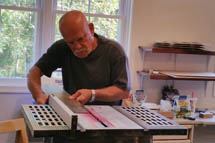
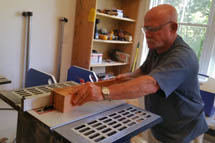
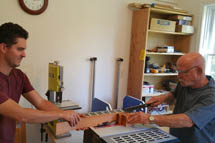
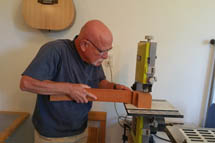
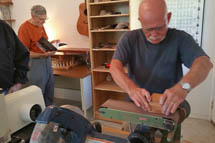
We cut off the heel using the table saw first and then the band saw. We probably should have just used the band saw from the start.
